


Safe Theme Updates on Shopify: Step-by-Step Rollback & QA Guide

Introduction: Don't Let the "Update" Button Destroy Your Store
Shopify regularly releases updates to improve security or add features for Online Store 2.0. However, updating without a plan is one of the quickest ways to create Shopify design mistakes that kill sales.

You excitedly click update and... boom!
-
Your homepage layout is messed up (See how to: Fix Broken Layout on Shopify).
-
Your product review app stops working.
-
The custom CSS code you paid a developer for last month is gone.
This guide provides a professional Standard Operating Procedure (SOP) to ensure Zero Downtime during updates.
Step 1: The Safety Net - Duplicate (Backup) Your Live Theme

This is MANDATORY. Before touching anything, you need a snapshot to return to (Rollback) if things go south.
✅ The Process:
-
Go to Online Store > Themes.
-
On your Current Theme, click Actions (three dots) > Duplicate.
-
Shopify creates a copy containing all your code and settings at that exact moment.
-
Rename this copy to: BACKUP_Live_Date (e.g., BACKUP_Live_06Jan2026).
-
Golden Rule: Never touch this Backup file. It is your insurance policy.
Step 2: Update in a Staging Environment (Draft Theme)

NEVER update directly on your Live Theme. Always work on a draft version.
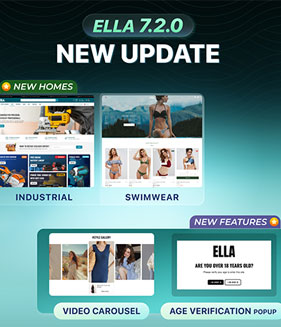
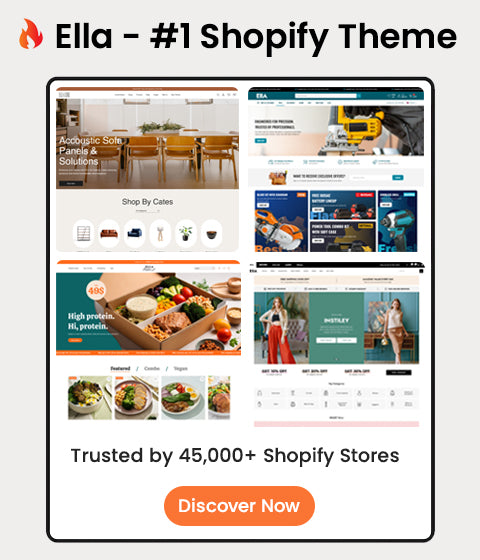
For Complex Themes (e.g., Ella):
If you are running a feature-rich theme, the update process involves manually uploading the new version. You might want to review how to install Ella Shopify Theme to refresh your memory on the initial setup structure.
Standard Process:
-
Download the latest version .zip file from Halothemes.
-
In Shopify Admin, click Add theme > Upload zip file.
-
Rename the new theme to: [Theme Name] - Version 2.0 - TESTING.
Step 3: Migrating Customizations
This is where most merchants struggle. Settings stored in JSON templates and custom code files in your old theme source do not automatically transfer to the new version.
⚠️ Crucial Migration Step: After updating, you might notice missing sections or lost layout configurations. This happens because the data remains in your old theme's files.
The Fix: You must manually copy the JSON files (e.g., index.json, templates/*.json) and any custom sections or snippets you created from your old theme's source code and paste them into the corresponding folders in the new theme's source.
Step 4: The QA Checklist (Quality Assurance)

Do not Publish yet! Act like a strict customer and audit the new theme using this checklist:
-
Performance Check: Is the new theme loading fast? Ensure you have optimized your Shopify images so the update doesn't slow down your site.
-
Collection Page: Check if product filtering is working properly. If filters are broken, follow our guide on Collection Filters Not Working.
-
Product Page (PDP): Test the variant swatches. If selecting a color doesn't change the main image, read the fix for Variant Images Not Switching.
-
Search Functionality: Test the search bar. If it shows unrelated products, you may need to tune your search results in the new theme settings.
Step 5: Go Live & Emergency Rollback Plan
After QA is passed, you are ready to launch.
✅ Go Live:
-
On the new theme (TESTING), click Actions > Publish.
-
The new theme will instantly replace the old one for live visitors globally.
🚨 Emergency Rollback:
If you discover a critical bug after publishing:
-
Don't panic.
-
Find the BACKUP_Live_... file you created in Step 1.
-
Click Actions > Publish on that Backup file.
-
Your site will revert to its perfect pre-update state in 1 second.
Conclusion
Updates are necessary for security and performance, but they require a structured process.
If you find this process too technical, remember that we offer a Free Basic Installation Service for new theme purchases to help you get started correctly from day one. Or, contact our experts for a full migration service.